A closeout in basketball is one of the most used techniques in defense. A closeout is when a defensive player runs and breaks down into a defensive position as they rush towards an offensive player. It is used to help stop offensive players from being able to shoot or drive when they catch the ball. The closeout should be the first defensive technique taught for off the ball defense. It should be done any time a defender has their man catch the ball in man-to-man defense.
Even with the closeouts being used every defensive possession every time an offensive player catches the ball, some players and teams struggle with their closeouts. A bad closeout by players or teams can give good offensive players, especially shooters, enough time and space to score. That is why closeouts are so important. They help to keep the offense from scoring the ball and make it much more difficult to get good shots.
How does a player perform a closeout?
A closeout is done when a defender is playing one pass away or help side defense. This means that they are not right next to the player they are guarding. Because they are not right next to their man the defender has to cover some ground to get there. That is where the closeout starts.
The defender is going to sprint ¾ of the way to their offensive man. At that ¾ point, the defenders changes from a sprint to a controlled breakdown ending in a good defensive guarding position. The first thing at the ¾ mark is to go from a sprint to a breakdown by chopping their feet for the last ¼. By chopping their feet this puts the defender into a ready position should the offensive player want to drive. It gives the defender the ability to quickly move side to side to stop an immediate drive.
The rest of the body is going to work in unison while the feet are chopping the last ¼. The butt is going to drop. In a sprint the player should be rather upright. In a defensive position the player is down in an athletic position. The butt dropping helps to transition from the upright position down into a defensive guarding position. This now takes care of the feet and legs.
The upper body should try and be as stationary as possible. The exception to this is the left arm. The left arm should extend up and out trying to reach out and get just above the right shoulder of the offensive player. Some coaches may teach a different arm technique on the closeouts. I prefer the left hand only. The right hand can be down to help make contact on a drive or give the ability of the defender to measure distance. So, while the left hand is up, the right hand and arm can help elsewhere. The reason I teach left hand only is because most players are right-handed shooters, and the left hand of the defender should be in a straight line with the right arm and hand of the offensive player. This gives the appearance the defenders are closer to the offensive player and helps to prevent players from shooting.
The defensive player should continue to chop the last ¼ until they reach what I call fingertip position. This is where the defensive player can reach their arm and hand straight ahead of them and touch the offensive player with their fingertips. As a note, most players do not understand this distance. The defender will think their closeout is closer to the offensive player than what they actually are. When I first teach closeouts, I make the players stop and reach out to fingertip distance. At the beginning of doing closeouts most players will have to take another half-step to full step to reach the correct distance. The players will eventually learn the right distance and be able to stop at that distance. So, make sure the players finish their closeouts at the right distance.
Drills
1 on 1 Closeout
This drill is very simple. A defender is under the basket with the ball. An offensive player on the 3-point line. The defender passes or rolls the ball to the offensive player. The defender follows the ball and does a closeout. After the closeout, the two players play out a possession.
I will normally restrict the possession to a smaller section of the court. For instance, I will put the offensive player either at the top of the key or on a wing. If the offensive player is on the wing, then they only have that side of the floor to use. If the player is at the top of the key, then they only have the lane or couple feet outside the lane to play in.
When I am first teaching closeouts, I will have the offense wait until the defense touches them with fingertip distance before playing out the possession. Once the players get the distance down then I will make the offense wait a second or two before starting and finally remove all restrictions from the offense to simulate a complete game scenario.
2 on 2 Closeout
Now we put two players on the 3-point line and two defenders under the basket. A defender passes the ball to one of the offensive players. The two defenders run out with one defender closing out to the ball and the other in help position one pass away. Just like 1-on-1 the coach can set time limits on when a possession can begin. The 4 players play out the possession to end the drill. As with 1 on 1, I will typically restrict the offense to playing on one side of the floor only.
3 on 3 Closeout
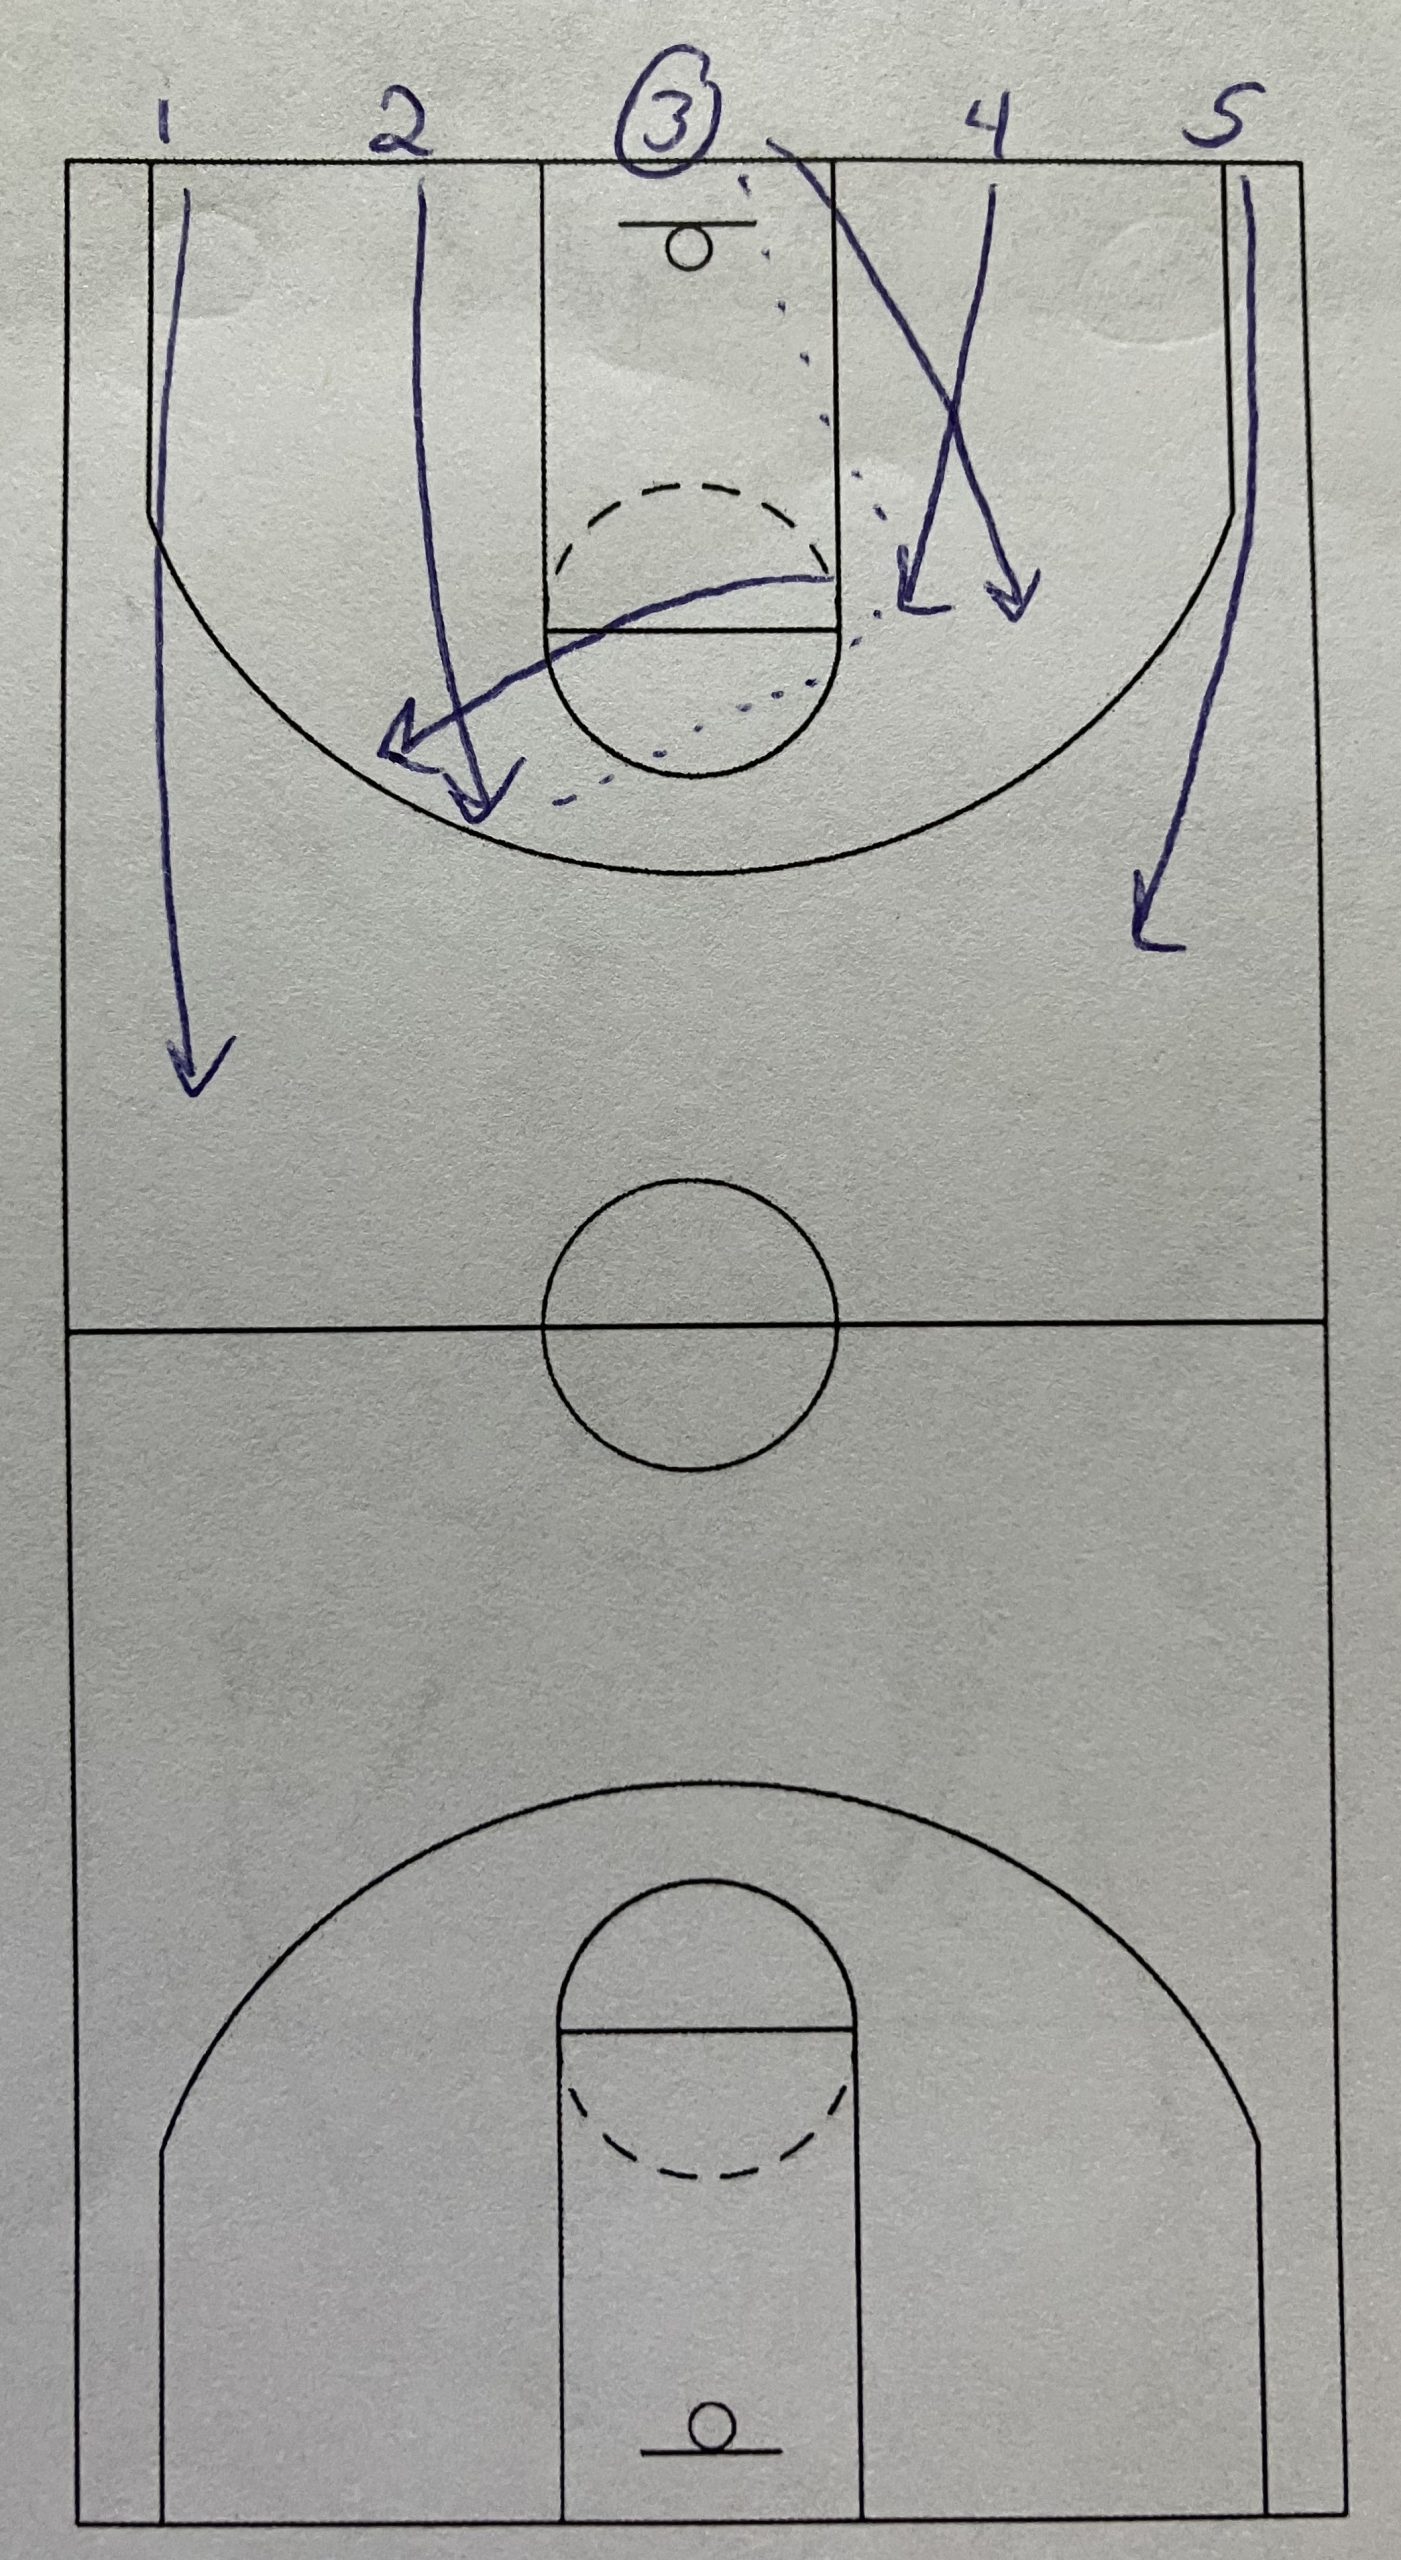
At 3-on-3 the full-court is used. Three players are on the 3-point line and 3 defenders start under the basket. A defender can start the drill with a pass or a coach can pass the ball so the defenders do not know who is closing out to the ball and who is starting in help defense. At 3-on-3 the defenders should be on the ball, one pass away and help side. I am building from an isolated closeout drill to now include more game situations.
4 on 4 Closeout
There are 4 offensive players on the 3-point line and four defenders. Again, either a defender or a coach can make the first pass and all the defenders run into their starting defensive positions with one defender using a closeout to the ball.
5 on 5 Closeout
At 5-on-5 the drill is simulating a full game possession. The offense should be in their normal setup and the defense can still start under the basket and run into their spots on the initial pass by a defender or a coach. After the pass it is a full-scale game scenario possession. After each possession, teams can switch and go again.
Conclusion
This drill can be done with the youngest players and focus just one 1-on-1 and 2-on-2. This gives the coach the ability to correct mistakes more frequently because the focus can be on just one or two players. As the players get older, the coach can increase the number of players in the drill and how much stuff is happening. All parts of man defense can be worked on all in the same drill. The on the ball, one pass away, and help side defense are all going to be used when the drill is using 3 or 4 or 5 offensive players. So, it can be focused on a small scale and then increased to a much larger scale as the players get older.
I have heard several college coaches say they do 2 or 3 of these drills every day in practice. The coaches will pick how many players to involve each day in the drill and then use 5 or 10 or 15 minutes everyday to keep defensive fundamentals drilled into their players. At first, a team may need some more time to correct mistakes, but the players should start to reduce their mistakes which will speed up the drill. As the players get better, then the amount of practice time needed to drill closeouts can be reduced. This is a drill that if done everyday will really help a team improve its defense.


30 thoughts on “Closeouts”